SB Television
How to Fix a Soft Spot in a Boat Deck
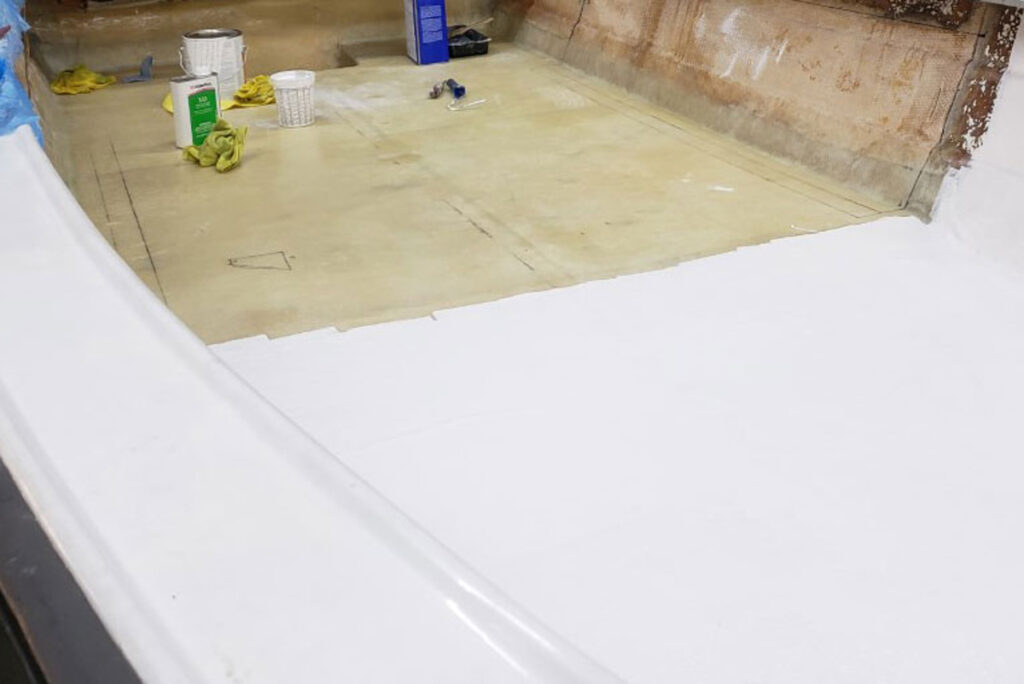 With the new deck in place, you’ll want to finish it off to ensure good looks and physical integrity.
Courtesy Lenny Rudow
Major structural components of most modern powerboats are built out of composites, but plywood was an exceptionally common material in older boats and it’s still found in some boats built today. Boat decks were often made of plywood skimmed or sheathed in a thin layer of fiberglass. When looking at older or used boats, or in a few cases even more modern vessels, you may step onto the deck and feel a soft spot underfoot where that wood is suspect.
Identifying the Soft SpotBefore you can fix a soft spot, you’ll need to identify the area that needs to be replaced. In some cases, it’s best to replace the entire deck—if one spot has rotted out there’s a good chance others will soon follow—but in other cases, the damage may be limited enough that a total replacement isn’t necessary.
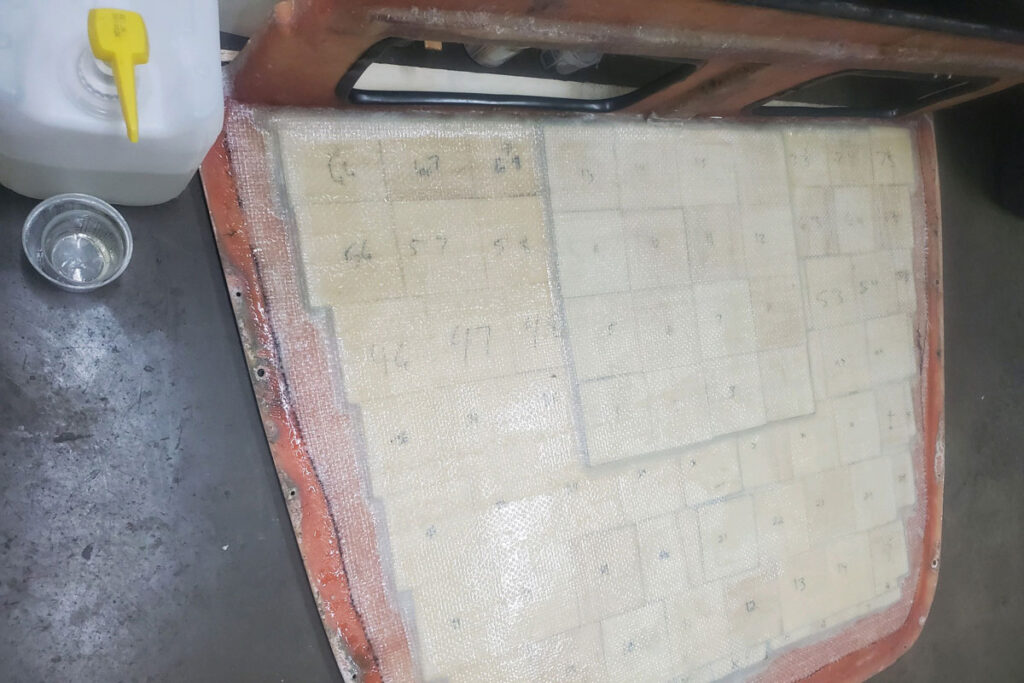 It’s usually best to replace the material with what was used originally, to avoid unintended consequences regarding weight, rigidity and structural integrity.
Courtesy Lenny Rudow
Identifying the obvious areas is usually easy as the deck will feel spongy and springy when walking on it, and it may even sag visibly or bubble up. You can also hear the difference between solid wood and rotted areas by tapping them with a hammer. Solid areas will produce a sharp rap, while rotted spots will sound like a dull hollow thud. A moisture meter will help detect saturated areas, but keep in mind that if the boat’s been under cover this won’t tell you where there’s rotted wood that’s dried out.
Once you’ve ID’d all the areas in need of fixing, plan on removing and replacing at least a couple of inches in every direction around to be sure you don’t leave any questionable wood behind.
Speaking of replacing wood: it may be tempting to replace a wood deck with a more modern composite, rot-proof coring material. This has obvious advantages, but it also carries risk. The boat was designed with a specific weight distribution and structural design, and swapping out materials can throw either out of kilter. Replace a section of plywood deck with a core weighing a fraction as much, for example, and you may inadvertently change the boat’s designed waterline and center of gravity.
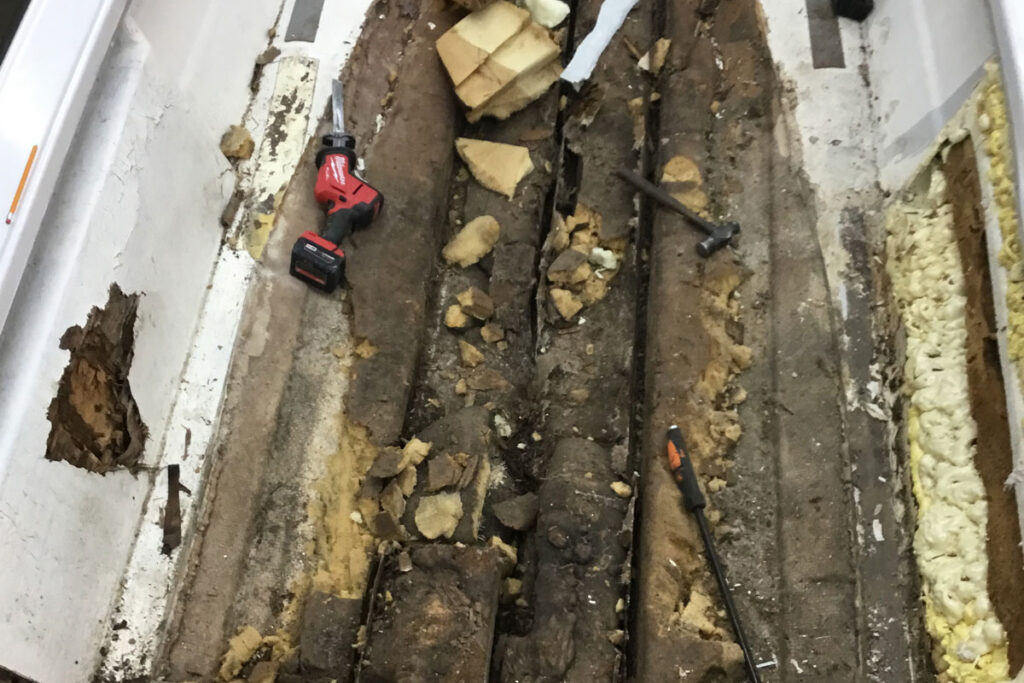 When that old deck comes up, what you find underneath usually isn’t pretty.
Courtesy Lenny Rudow
Removing the Soft Deck
In many cases, you’ll need to cut through a fiberglass skin as well as the deck in order to remove it. Most of the time it’s best to save the fiberglass and reuse it for the deck’s surface, because matching the surrounding fiberglass is next to impossible. In the case of decks painted with epoxy and/or nonskid, the surface won’t be reusable, but it will be easier to match. If not, consider repainting the entire deck. That way the patch job won’t be as noticeable, and the entire deck will look like new.
Before cutting out the deck, inspect underneath it. Otherwise, you’re likely to cut through something important like a chase full of wires, a fuel tank, plumbing lines or a bulkhead. Even after a thorough inspection, it’s wise to set the saw blade to go just deep enough to cut away the deck and nothing more. Also, if an entire deck replacement is in order, when working along the perimeter you’ll be cutting very close to the hull. Naturally, this is another part of the boat you want to be sure you don’t accidentally cut through.
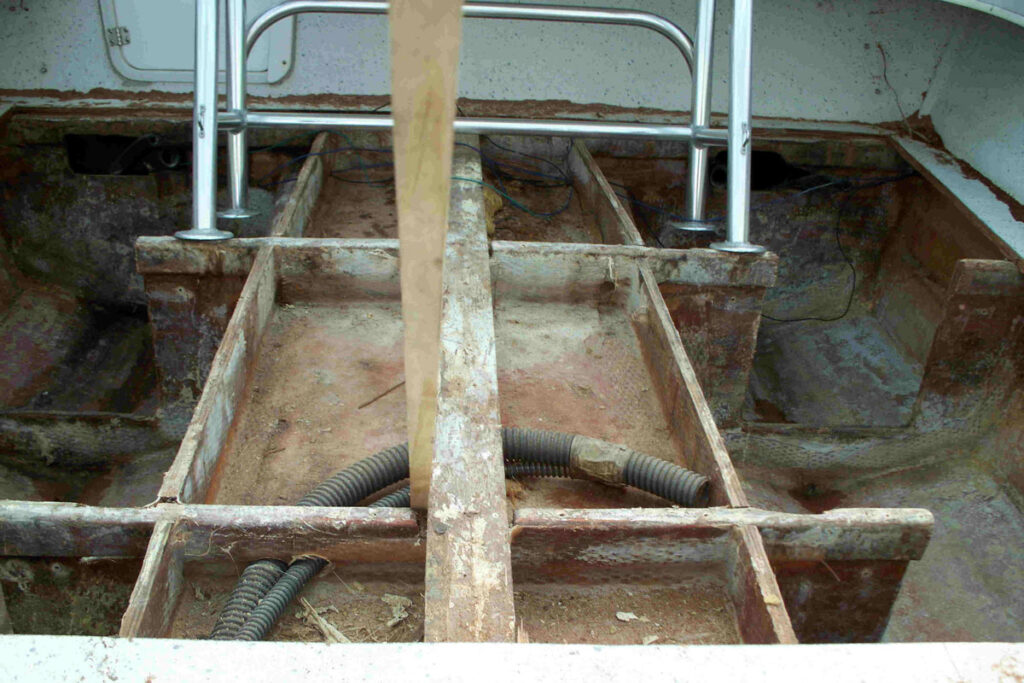 You need to clean up the deck supports prior to putting in a new section of deck.
Courtesy Lenny Rudow
After making cuts, there’s a good chance portions of the deck still won’t budge. That’s because the deck is attached (more or less depending on the level of deterioration) to the stringers and/or bulkheads supporting it, usually with an adhesive or fiberglass putty. In many cases, you’ll have to pry the deck up in sections; expect shards of wood to remain behind and be careful of the sharp, jagged, splintery pieces.
Replacing a Boat DeckWith the old deck fully or partially removed, this is a good time to inspect stringers, bulkheads, floatation foam and everything else below deck level. If anything else needs to be repaired or replaced, now is the time to find out.
Next it’s time to clean up the deck’s support points so the new material can be reaffixed. Grind away all remnants of the old material, then rough-sand and clean the surface to prep it for adhesion.
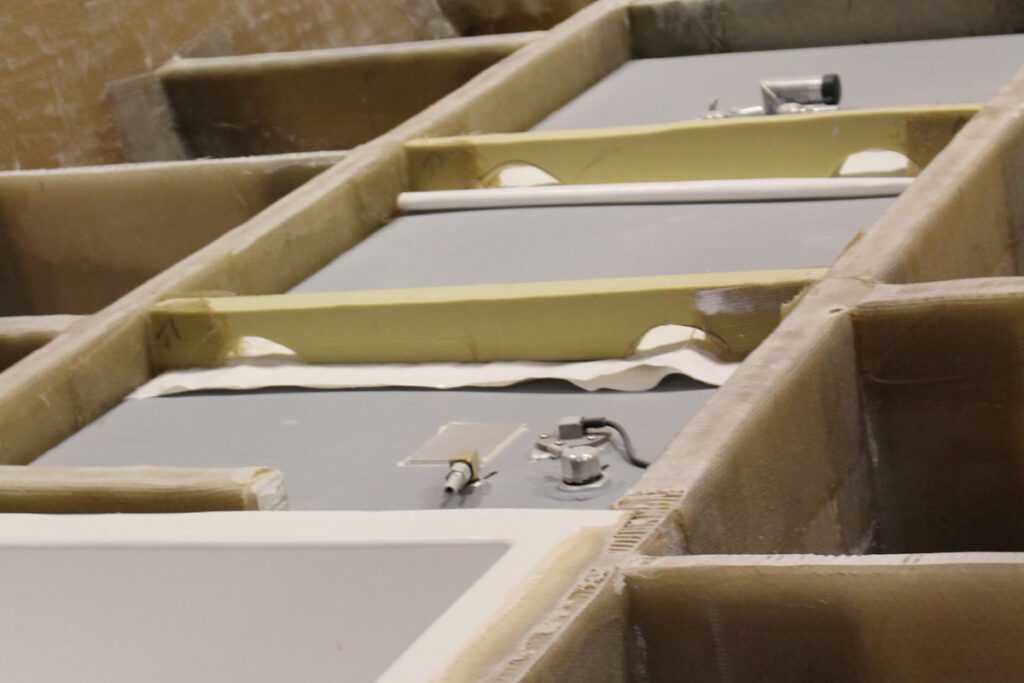 There can be some very important stuff—like fuel tanks—below that deck, so make sure you know what you might be cutting through before picking up a saw.
Courtesy Lenny Rudow
At this point, you need to have the new deck or deck section cut to size and ready to install. Again, it’s generally best to replace it with the same material, and also be sure the material has the same dimensions. If using plywood, selecting pressure-treated marine ply with anti-rot properties will extend its lifespan. When ready, add a sufficient amount of adhesive or fiberglass putty to the deck’s supports, and then put the new deck material in place.
Finish off the deck’s surface as appropriate, which may mean gluing the preexisting deck skin back down, freshly fiberglassing over the deck, painting it, painting on a nonskid surface or some or all of the above.
The best policy is always to do the repair in as similar a fashion as possible to the way the boat was originally constructed. In any case, be sure the deck’s surface is entirely covered, sealed and waterproofed. Once everything has cured and dried, you’ll be standing on solid ground the next time you step aboard.
The post How to Fix a Soft Spot in a Boat Deck appeared first on Yachting.
- Home
- About Us
- Write For Us / Submit Content
- Advertising And Affiliates
- Feeds And Syndication
- Contact Us
- Login
- Privacy
All Rights Reserved. Copyright , Central Coast Communications, Inc.