How to Apply the Propspeed Antifouling System
 Properly applied, Propspeed creates an ultra-slick topcoat.
Jim Hatch
Properly applied, Propspeed creates an ultra-slick topcoat.
Jim Hatch
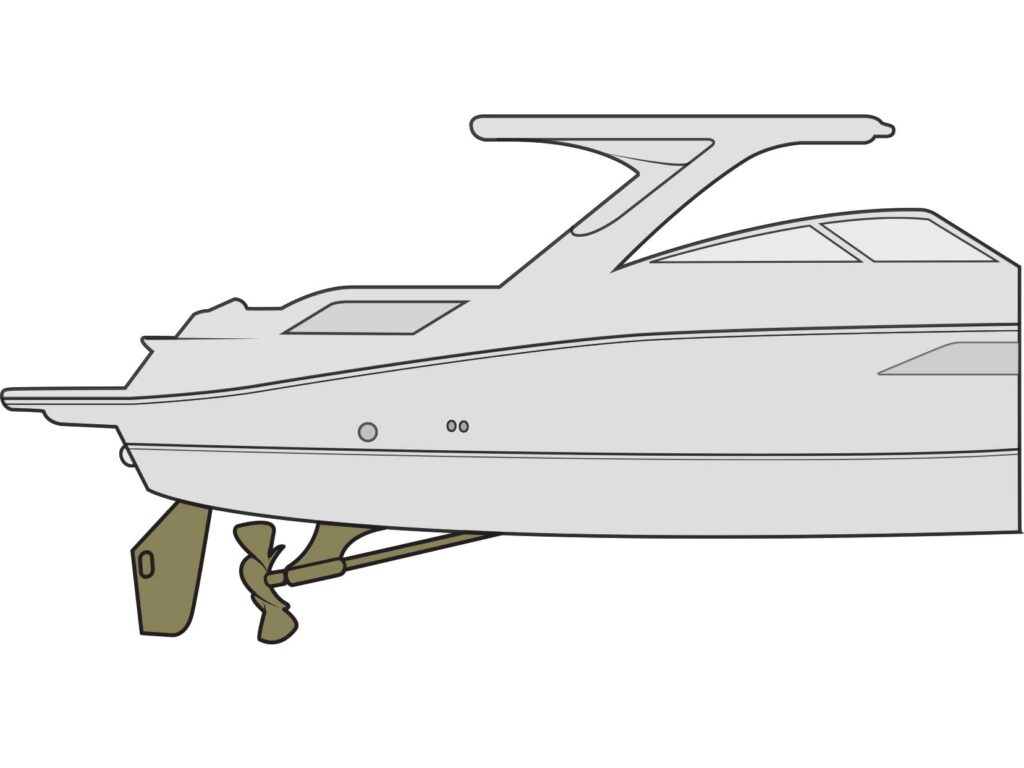
Keeping inboard running gear free of fouling can grow into a costly hassle. Propellers, prop shafts, struts, rudders, and other underwater metal quickly attract unwanted hitchhikers such as barnacles, worm casings, and algae, which hamper performance and require regular cleanings by divers. Without this routine, things turn bad quickly as marine fouling renders the running gear less than effective.
Yet there’s an alternative. Thanks to the biocide-free foul-release coating technology in Propspeed, traditional periodic scrubbing and scraping of underwater metal components has become a chore of the past.
Properly applied, Propspeed creates an ultra-slick topcoat that prevents marine growth from gaining a foothold on metal surfaces for 12 to 24 months. Any fouling present on the golden-hued coating quickly slides away at speeds as low as 5 mph. Propspeed also thwarts corrosion.
Application is not beyond the ken of most do-it-yourselfers, but it requires strict adherence to the instructions to forestall premature failure. To help DIYers, the company has initiated the “Like a Pro” program, which includes online step-by-step videos at propspeed.com. There’s also an interactive Propspeed Coverage Calculator that estimates the amount of coating remover, cleaner, primer, and topcoat in the correct amounts based on the size of the boat and the underwater elements that you plan to protect.
This project focuses on applying Propspeed to the running gear of a 25-foot-length-overall single inboard-powered boat that has been hauled out of the water. We also masked off all running-gear zincs to prevent accidentally coating them in the process.
Skill Level: 3 of 5
Finish Time: Approx. 3-4 hours
Tools and Supplies- Propspeed Large Kit includes Propclean, Propprep, Etching Primer Base and Hardener, Clear Coat, two paint trays, rollers, and more ($599.00; westmarine.com)
- Stripspeed coating remover ($139.80 for two 1-liter bottles at $69.90 each; westmarine.com)
- Personal-protection equipment, including paper paint suit, dust-sanding mask, disposable gloves, and eye protection
- Plastic containers
- Disposable brushes for Clear Coat
- Paint scraper
- 80-grit wet/dry sandpaper and dual-action power sander
- Mixing stick
- Clean, dry rags for cleanup
- Paint-can opener
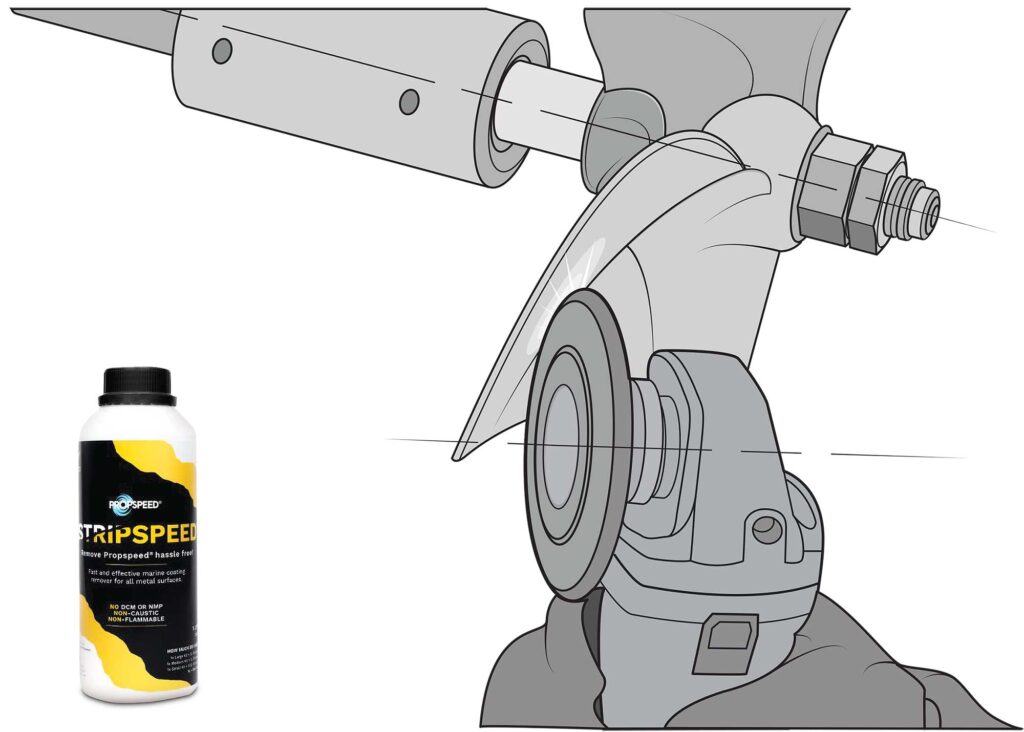 Metal Prep
Jim Hatch, Propspeed
Metal Prep
Metal Prep
Jim Hatch, Propspeed
Metal Prep
Before you start, make sure you’re wearing a paper paint suit, dust-sanding mask, disposable gloves, and eye protection. Remove any fouling using a pressure washer. If you are reapplying Propspeed or other coatings are present, remove them completely using Stripspeed or a dual-action or air-driven sander. Next, abrade the bare metal surface with 80-grit wet/dry sandpaper. You can sand the surface with a dual-action or air-driven sander. For difficult and tight areas, wet-sand by hand.
Tip: To access all parts of the propeller and shaft, we recommend turning the prop using a brush, a wooden stick, or gloved hands.
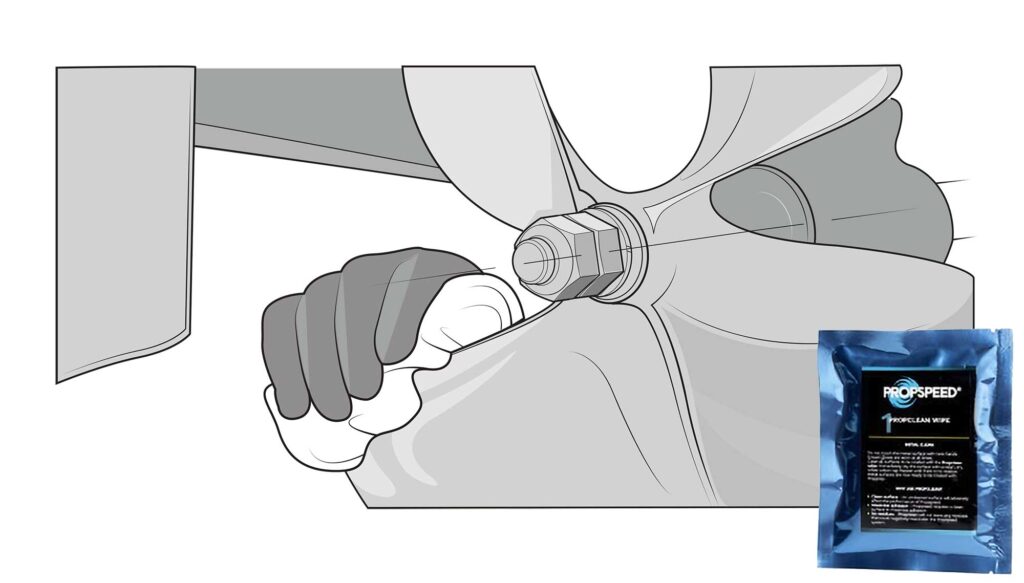 Clean and Condition
Jim Hatch, Propspeed
Clean and Condition
Clean and Condition
Jim Hatch, Propspeed
Clean and Condition
Once any old coating is removed and the surface thoroughly sanded, clean the bare metal with the Propclean wipe provided in the Propspeed kit. Next, liberally apply the Propprep formula (this might come in the form of a red Propprep wipe or solution). Immediately wipe the surface with a clean, dry white cotton rag to remove all residue. Propprep solution is acidic and contains no corrosive inhibitors, so the treated surface should be primed per Step 3 as soon as possible afterward.
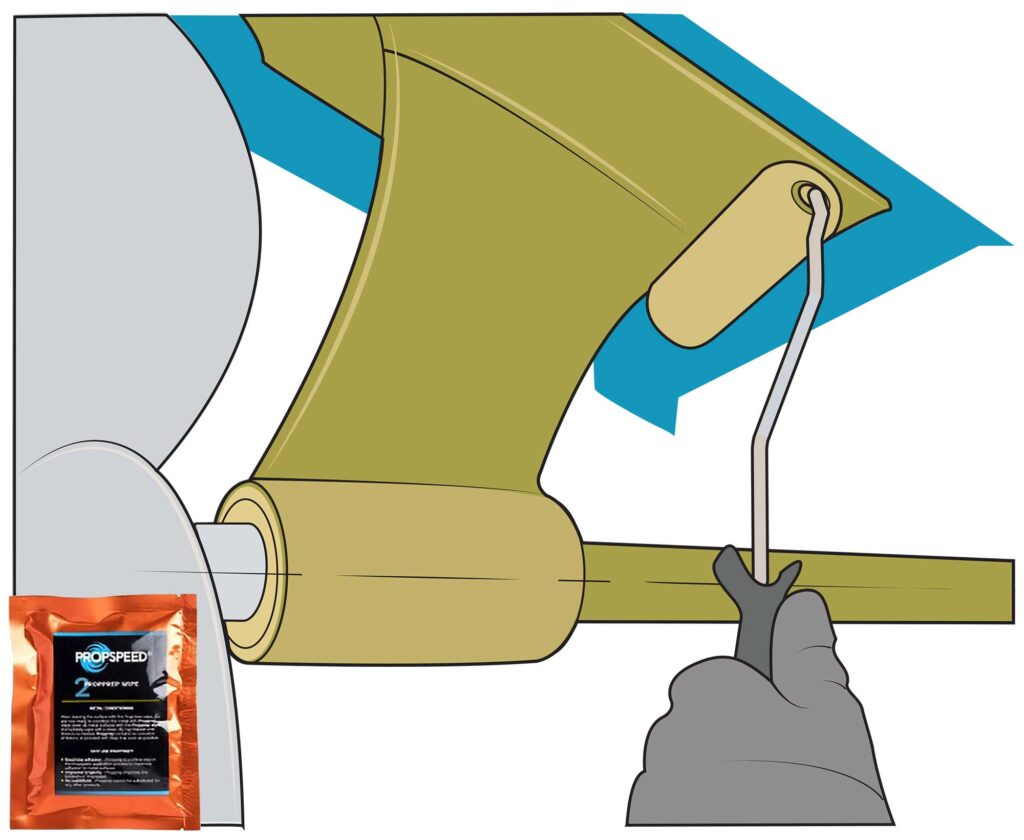 First Primer Coat
Jim Hatch, Propspeed
First Primer Coat
First Primer Coat
Jim Hatch, Propspeed
First Primer Coat
Propspeed requires two generous coats of Etching Primer. The yellow pigment in the bottom of the Etching Primer Base must be thoroughly mixed for two to three minutes before adding the Etching Primer Hardener. Add the Etching Primer Hardener to the can, and mix again. Any product not being used immediately can be resealed in the can and left in the shade for up to six hours. For best results and a flawless finish, use one of the rollers from the Propspeed all-in-one application kit.
Tip: Propspeed recommends a minimum temperature of 50 degrees F for application of the primer and topcoat. Also, never apply the product in direct sunlight or in relative humidity above 85 percent.
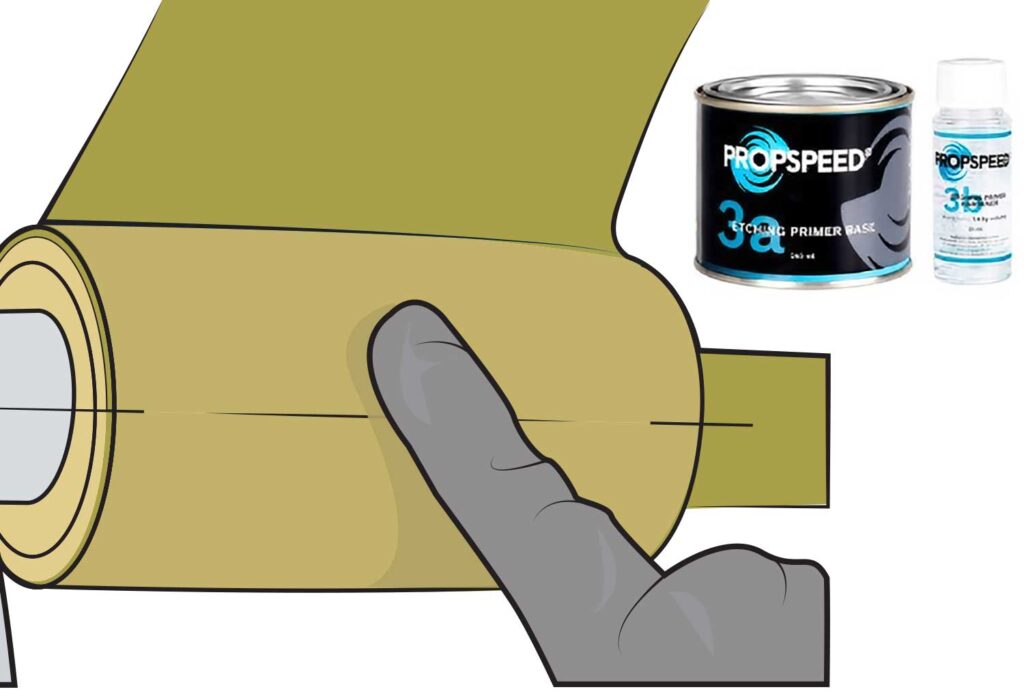 Second Primer Coat
Jim Hatch, Propspeed
Second Primer Coat
Second Primer Coat
Jim Hatch, Propspeed
Second Primer Coat
Once you have applied the first coat of Etching Primer, wait about three to five minutes before applying the next coat. Touch the first coat with your gloved finger—if it leaves a small print on the surface but no paint on your fingertip, begin applying the next coat. The three-to-five-minute recoat timing is based on 80-degree F temperatures. Warmer temperatures and windy conditions speed up the recoat time between the two coats of primer; cooler temperatures will slow down the recoat time.
Read Next: Choosing the Best Bottom Paint
 Clear Coat
Jim Hatch, Propspeed
Clear Coat
Clear Coat
Jim Hatch, Propspeed
Clear Coat
Proceed with the Clear Coat as soon as the last coat of Etching Primer is dry to the touch. Ensure that the Clear Coat is well-mixed, and apply using a brush or roller from the application kit, ensuring that there are no runs or sags. You’ll have five to 10 minutes for touch-up before the coat starts to set. Any drips that harden on the edges of the prop blades can be carefully cut off the following day. Coat the surface completely, making sure that there are no areas that appear dull in luster, indicating that they have not yet been coated.
The post How to Apply the Propspeed Antifouling System appeared first on Boating Mag.